
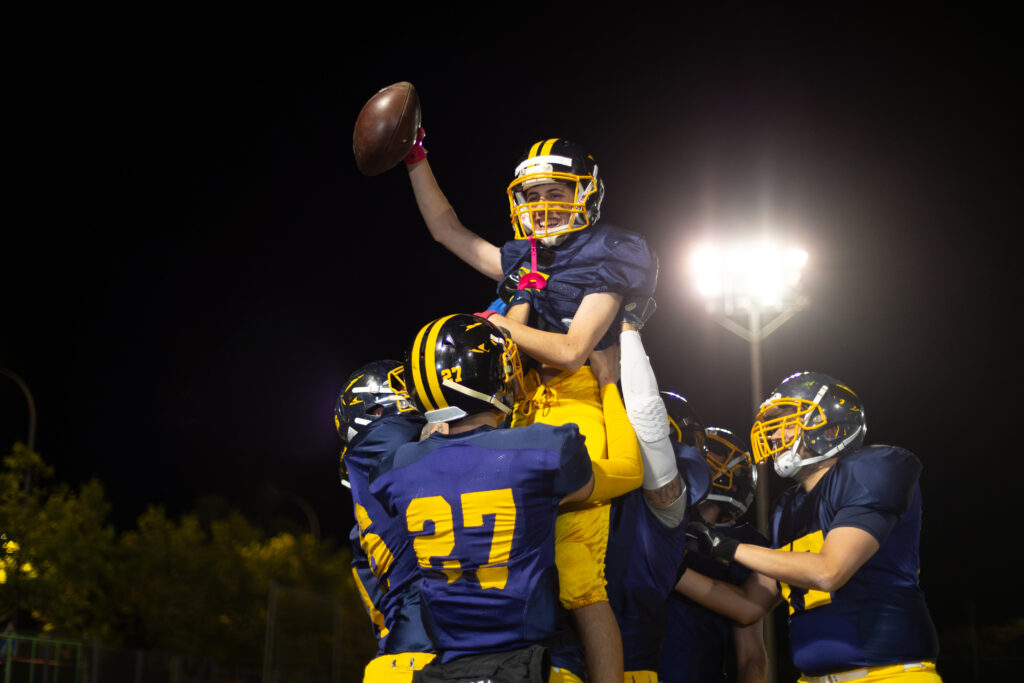
You bought the camera for this. Maybe not consciously, but somewhere in the back of your mind when you handed over the card, there was a picture of your kid under the lights on a Friday night in October.
Then you actually tried it. And what came back was a memory card full of orange blur — helmets smeared sideways, faces you cannot identify, and a strange horizontal banding across a few frames that you have no explanation for at all. Meanwhile the phone in your pocket produced something that at least looked like a photograph.
Your camera is not broken and you are not bad at this. Texas high school football is one of the genuinely hard photographic problems, and it is hard for three specific reasons that almost nobody explains. Two of them are physics. The third one is new, it arrived with the LED retrofits sweeping through Texas stadiums, and it is quietly ruining photos for people who have no idea it exists.
Week three of the UIL season kicks off September 10, 11 and 12. Here is how to be ready.
The bad news first: you are shooting from the stands
Every sports photography article you have ever read was written by someone standing on the sideline with a credential. That advice does not apply to you, and following it will cost you money on the wrong lens.
Texas districts, not the UIL, control field access, and they are strict. Austin ISD’s stadium procedures are blunt about it:
“Individuals not directly connected to the team and not in uniform must have a visible sideline pass or remain in the stands.” And: “Spectators are not allowed on the field before, during, or after a game.”
Northside ISD in San Antonio goes further and actually counts the slots. Presence on the field is limited to players, cheerleaders, flag detail, bands, break-through support, and “four (4) student photographers at football.” Four. That is the entire field photography allocation, and it is reserved for students.
If you want a pass, the request goes through the host district’s athletic department — not the UIL, and not the school your kid attends if they are playing away. It is worth asking. But plan your season, and your gear, around the assumption that you are in the bleachers.
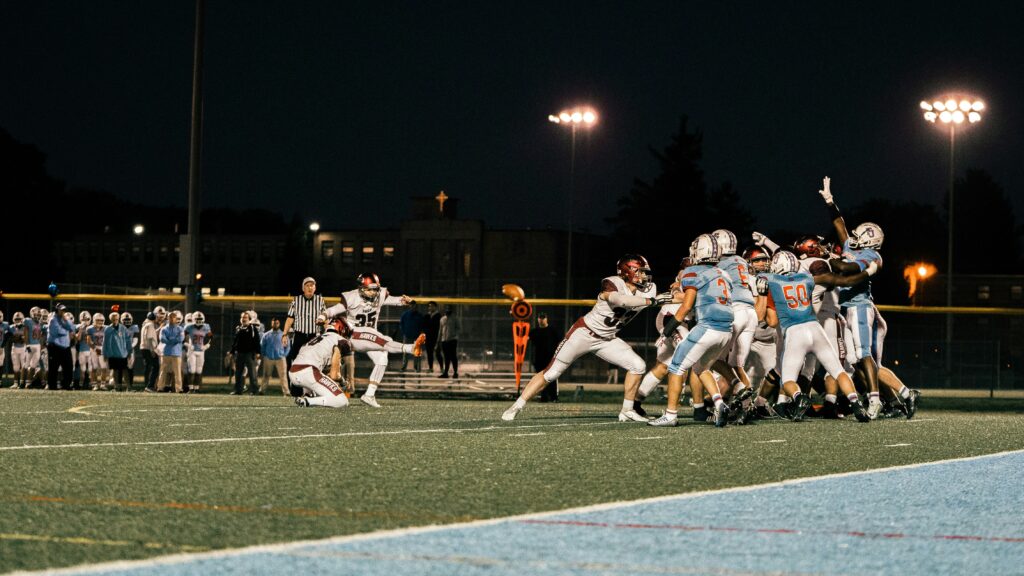
Why this changes everything: a sideline shooter at the 30-yard line is maybe 15 yards from the play. You are 40 to 60 yards away and elevated. The 70-200mm that every guide recommends is a sideline lens. From row 20 it is not enough reach for anything happening on the far hash. You want the equivalent of 200mm at absolute minimum, and 300 to 400mm is where you start getting frames worth printing.
The second problem: these stadiums are much darker than your eyes think
Your eyes are extraordinary at adapting. Your sensor is not, and it is working with a fraction of the light you believe is there.
A modern LED retrofit at a Texas high school lands around 50 foot-candles on the playing surface. Musco’s install at Brock ISD’s Eagle Stadium is specified at exactly that, with 2:1 uniformity — and notably, that retrofit increased light on the field by 67%, which tells you the metal halide system it replaced was delivering something closer to 30.
That is the range you are working in: roughly 50 foot-candles on a newly renovated field, closer to 30 on an older one, and less than that at the corners and in the end zones where uniformity falls off.
Here is what that means in ISO, assuming you want 1/500 second to stop a running back — and 1/500 is the floor, not the goal:
| Your lens | New LED field (50 fc) | Older field (30 fc) | The dark corner (20 fc) |
|---|---|---|---|
| f/2.8 at 1/500 | ISO 1,800 | ISO 3,000 | ISO 4,500 |
| f/2.8 at 1/1000 | ISO 3,600 | ISO 6,100 | ISO 9,100 |
| f/4 at 1/500 | ISO 3,700 | ISO 6,200 | ISO 9,300 |
| f/5.6 kit zoom at 1/500 | ISO 7,300 | ISO 12,100 | ISO 18,200 |
| f/5.6 kit zoom at 1/1000 | ISO 14,600 | ISO 24,300 | ISO 36,400 |
Look at the bottom two rows, because that is the lens most people own. The 55-250mm or 70-300mm that came in the two-lens kit is f/5.6 or f/6.3 at the long end, and it is asking your camera for ISO 12,000 to 24,000 on a typical Friday night. No consumer sensor makes a clean file there.
This is the rare case where the honest answer really is “it’s the gear.” You cannot set your way out of a two-and-a-half stop deficit. A fast telephoto is not a luxury purchase for this job — it is the difference between photographs and noise.
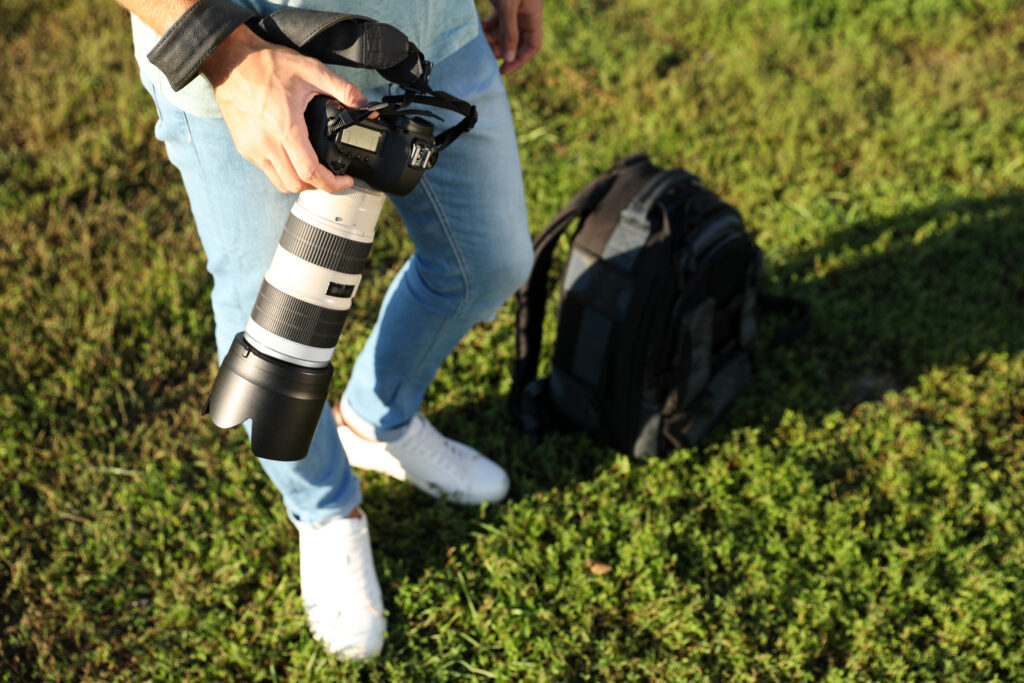
Which is exactly what the rental counter is for. Before you spend two thousand dollars on a 70-200mm f/2.8 to find out whether you even enjoy shooting football, rent one for a weekend. We rent from both stores. Take it to one game, look at the files, and then decide. Half the people who rent for a Friday night come back and buy something — and the other half saved themselves a very expensive mistake.
The third problem: nobody warned you about the LEDs
This is the one that produces those inexplicable bands, and the reason your exposure jumps around between frames in a burst even though nothing changed.
Old metal halide stadium lights had a useful flaw. The arc inside them held heat, so when the AC current crossed zero sixty times a second, the light did not actually go dark — it coasted. That thermal persistence smoothed the output into something close to continuous.
LEDs have no such persistence. The Department of Energy puts it plainly:
“LEDs and OLEDs are devices with little thermal or phosphor persistence, so there is a very rapid on or off response of the LED from the current delivered by the driver/dimmer electronics.”
Which means an LED fixture’s light output follows its driver waveform exactly. And drivers can be designed to almost any frequency — DOE notes that modulation is detectable “even at high frequencies of 1000, 2000, 6000 Hz, or even higher.”
So at 1/1000 second, your shutter is open for one millisecond, and during that millisecond the lights may have pulsed several times — or barely at all, depending on where in the cycle you happened to land. Frame to frame, that is an exposure lottery. And with an electronic shutter, which reads the sensor progressively from top to bottom, different rows get exposed at different points in the pulse. That is your banding.
The setting almost everyone turns on is the wrong one
Here is the trap. Your camera almost certainly has a feature called Anti-flicker Shooting, and every article tells you to enable it. Read what it actually does.
Sony’s documentation says its Anti-flicker Shooting detects “flickering with a frequency of 100 Hz or 120 Hz (such as fluorescent light) only.” Canon’s specifications for the EOS R5 Mark II say the same: “Flicker detected at a frequency of 100 Hz or 120 Hz.”
100 and 120 Hz are mains frequencies. That setting was built for fluorescent tubes and old gymnasium lighting. It is not designed for LED sports lighting, which flickers at whatever frequency its driver runs at — often many times higher.
What you actually want is the separate high-frequency mode, and all three major manufacturers ship one under a different name:
- Canon: High Frequency anti-flicker shooting. Available only in M and Tv modes. It lets the camera land on fractional shutter speeds — Canon lists granularity down to 1/8192.0 — so you can tune the shutter to divide evenly into the flicker.
- Sony: Var. Shutter (Variable Shutter). Sony explicitly documents this one as handling “flickering with a frequency higher than 100 Hz or 120 Hz (such as LED light).” Manual or Shutter Priority only. It works with electronic or mechanical shutter.
- Nikon: High-Frequency Flicker Reduction, listed separately from ordinary Photo Flicker Reduction in the Z-series menus, with distinct photo and video versions.
And one specific trap worth its own paragraph: on Sony bodies, standard Anti-flicker Shooting requires the mechanical shutter — it is unavailable when you set the electronic shutter. So if you switched to silent shooting to be polite in the stands, you turned the feature off without knowing it. Var. Shutter is the one that still works.
The practical routine: get to the stadium during warmups, point at the field, and rip a ten-frame burst at your intended shutter speed. Zoom in on the back of the camera and look for banding or exposure shifts between frames. If you see either, switch into your camera’s high-frequency mode and nudge the shutter speed in small increments until the bands disappear. Two minutes before kickoff saves the whole first quarter. Every stadium is different, so do this at every away game.
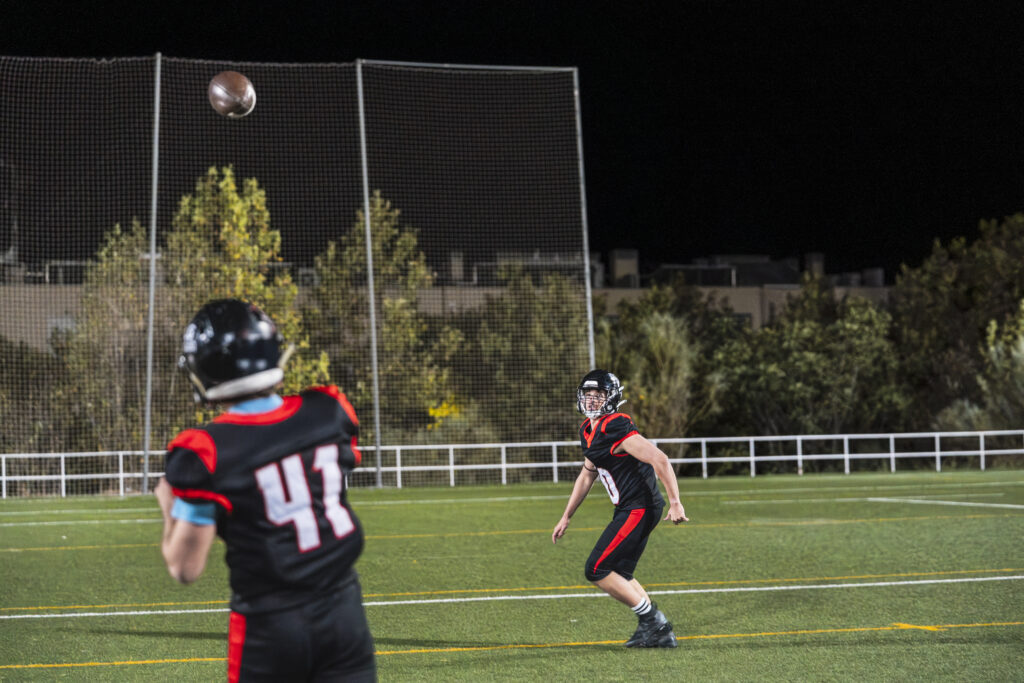
A starting point for settings
Not a recipe — a place to begin, then adjust from the first burst you check.
- Manual mode, Auto ISO. Lock shutter and aperture; let ISO float. You cannot chase changing light and the play at the same time.
- Shutter: 1/500 minimum, 1/800 if your ISO can stand it. 1/500 will hold a runner. It will not freeze a receiver’s hands at the catch.
- Aperture wide open. This is not the night for depth of field.
- ISO ceiling: set it high and accept it. A sharp ISO 8000 frame beats a clean, blurry ISO 1600 frame every single time. Noise reduction has gotten remarkably good; motion blur is forever.
- Manual white balance, not auto. Set it once — you can fine-tune from a test frame — and leave it. AWB will drift as players move between fixtures and you will spend Sunday color-matching a hundred frames by hand.
- Back-button focus, continuous AF, tracking on. Let the camera hold the subject so your finger only handles timing.
- Shoot RAW. You will be lifting shadows.
On flash: I found no UIL rule and no local district policy prohibiting it, so this is practical advice rather than a regulation. Do not bother. A hotshoe flash has nowhere near the reach to light midfield from row 20, it will not keep up with a burst, and you will make yourself extremely unpopular with the people around you. It is dead weight.
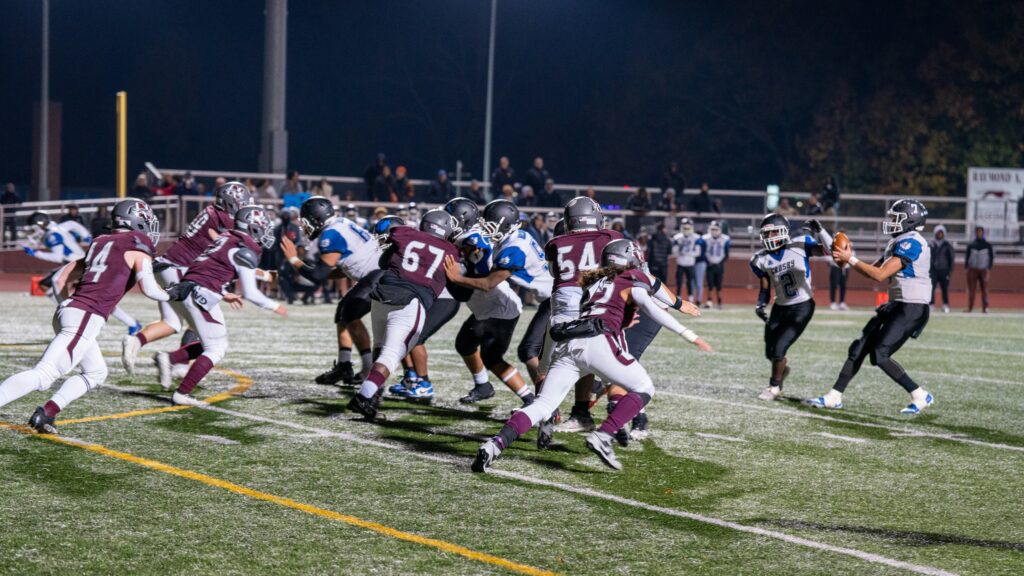
Where to sit, and what to actually shoot
Stop trying to photograph the whole game. You cannot, and the attempt is why the results feel scattershot.
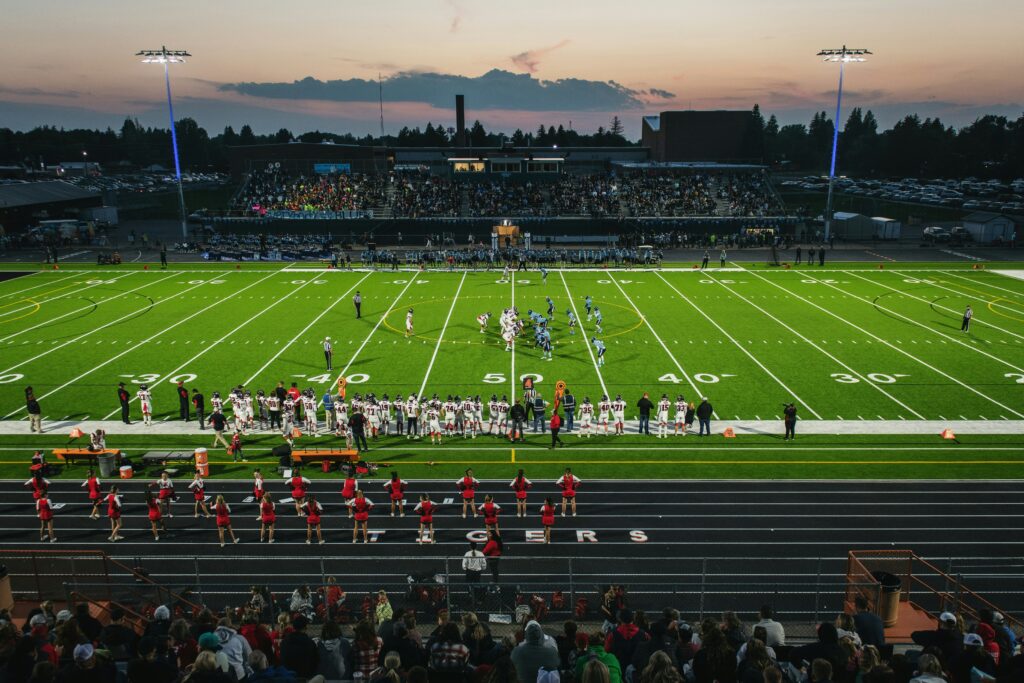
Sit high, near a 25-yard line. Elevation separates players from the background clutter of the far sideline, and the 25 puts most red-zone action in front of you rather than beside you.
Learn down and distance. It is third and long — watch the receivers, not the line. Goal line inside the five — the ball is going up the middle. Photographers who look like they have great reflexes are usually just people who know what is about to happen.
Shoot the parts nobody else does. The helmet coming off after a big stop. The huddle breaking. A coach’s face on fourth down. Cheerleaders, the drum line, the stadium in blue hour before kickoff. Those frames get shared far more than a tackle at midfield, and they are considerably easier to expose.
Stay after the whistle. The best photograph of the night is usually made in the ninety seconds after the game ends.
One thing to know before December
If your team goes deep into the playoffs, the road ends at AT&T Stadium in Arlington the week of December 16. Before you drive up there, read the UIL’s state championship spectator rules, because they are unusually restrictive:
“Point and shoot cameras only, detachable lenses are not allowed.”
Livestreaming the game is prohibited as well. It would be a genuinely painful thing to discover at the gate after a four-hour drive with a camera bag you cannot bring inside.
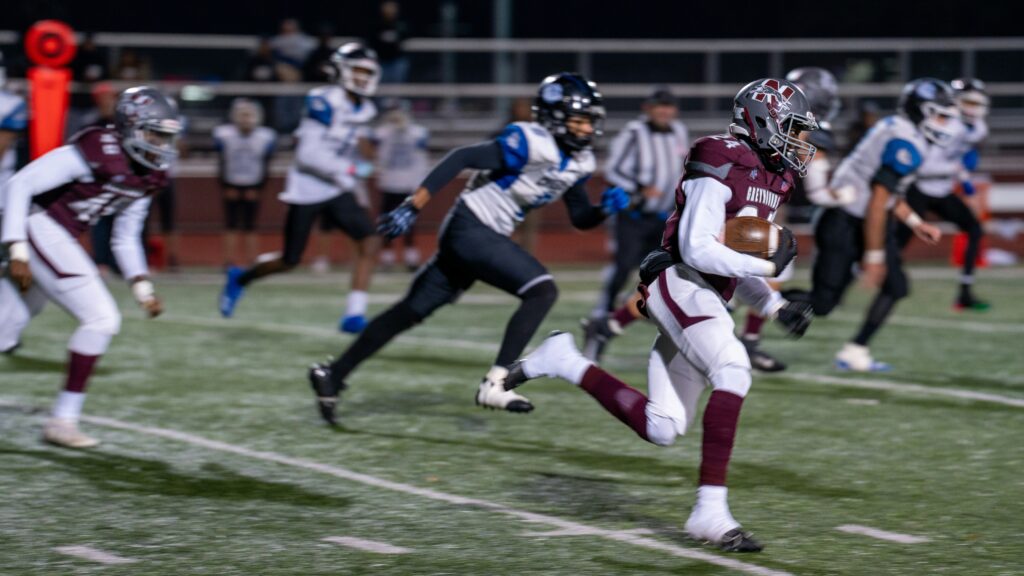
Gear that actually solves this
- Fast telephoto zooms (70-200mm f/2.8 and equivalents) — [Shop 70-200 f/2.8 Lenses]. The workhorse. Consider a teleconverter for the reach you lose from the stands.
- 300mm and 400mm options — [Shop 300mm f/2.8 Lenses and 400mm f/2.8 Lenses]. Where the from-the-stands frames actually come from.
- Used fast glass — [Shop Used Lenses]. Sports lenses hold up well and the used case is the smart way into f/2.8.
- Monopod — [Shop Monopods]. Two hours of holding a 70-200mm at eye level is genuinely hard, and a monopod takes almost no room in a bleacher seat.
- Extra batteries and cards — [Shop Batteries & Memory Cards]. Continuous AF and burst shooting will empty a battery faster than you expect, and it will be cold in November.
📸 Rent it before you buy it
We rent from both stores — San Antonio and Austin. Take a fast telephoto out for a Friday night, shoot one game with it, and look at the files before you spend anything.
San Antonio: 6635 San Pedro Ave · 210-349-4400 Austin: 5907 Burnet Rd · 512-520-5161
Rent in San Antonio Location or Rent in Austin Location
And if manual mode is where this article lost you, our Photography 101 and 201 classes in San Antonio cover exactly this: shutter, aperture, ISO, and how they trade against each other, hands-on with your own camera. [Sign Up]
We have been helping Texas parents get this shot since 1973.