
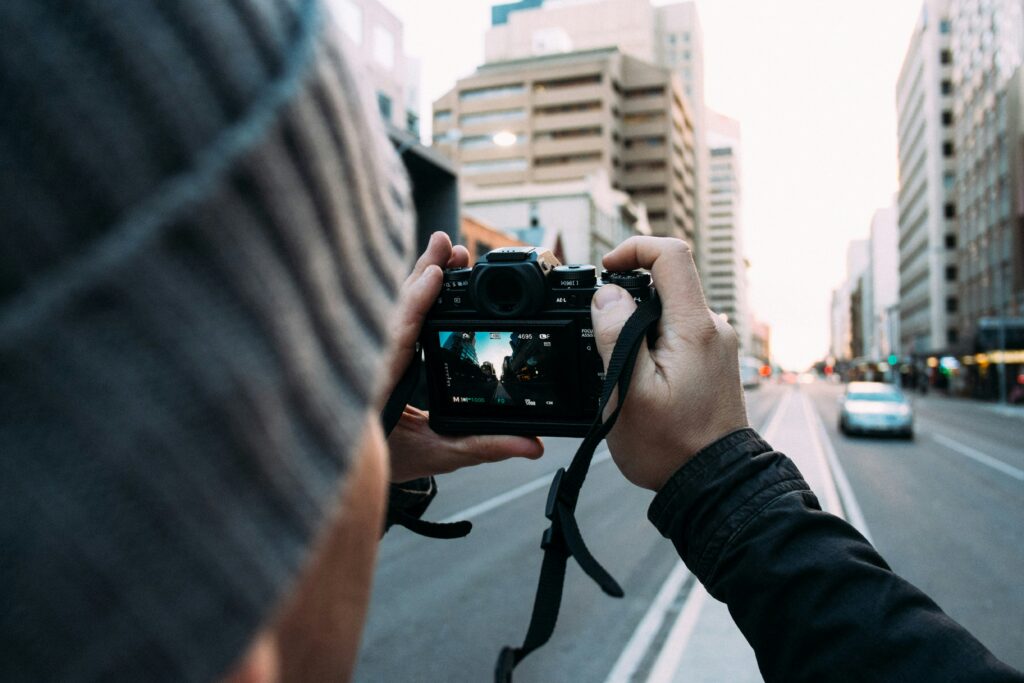
People bring us their first hundred photos more often than you would think. Sometimes on a laptop, sometimes on the back of the camera, usually with some version of the same question: is it me, or is it the camera?
It is almost never the camera.
It is also almost never talent, which is the other thing people worry about. It is four specific habits, they show up in nearly everybody’s early work, and every one of them is free to fix. Nobody has ever needed to buy anything to solve these.
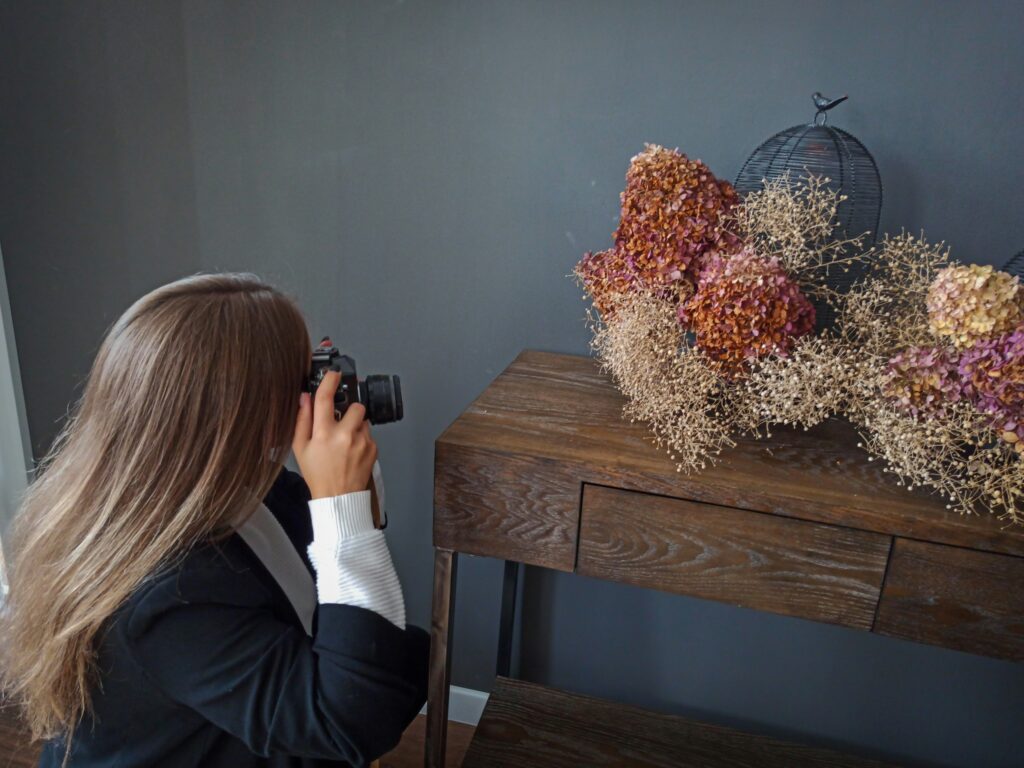
1. You are too far away
This is the big one. Beginners stand where they happen to be standing and photograph from there, and the subject ends up as a small thing in the middle of a lot of unrelated background.
The instinct is to zoom. Resist it for a week and move your feet instead. Walking six feet closer changes the relationship between your subject and the background in a way that zooming from the same spot cannot — the background compresses differently, the subject gains presence, and the clutter around the edges simply falls out of frame.
And cropping in later is not the same thing. A crop throws away pixels and keeps the original perspective. Getting closer keeps the pixels and changes the perspective, which is the part that actually looked wrong.
The fix: before every shot, ask whether you could take three steps forward. Usually you can.
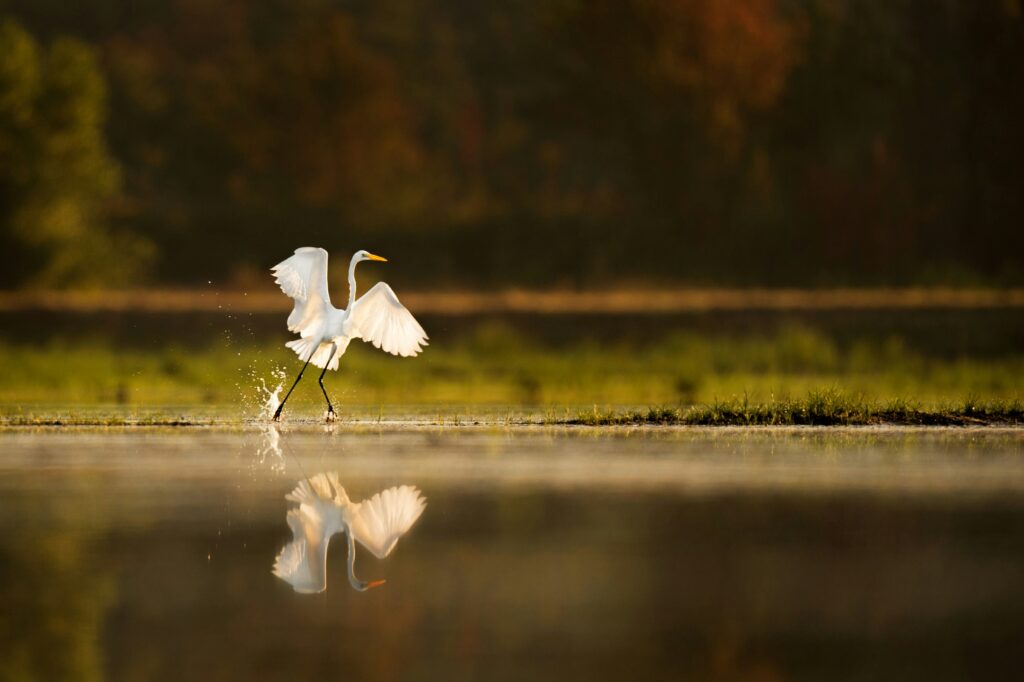
2. Every single frame is at eye level
Go through your first hundred photos and check the camera height. We would bet money that ninety-five of them were taken from exactly where your eyes are when you are standing up.
That is the one view of the world every human being already has. It is why those photos feel ordinary — not badly made, just familiar.
Height is a completely free variable and almost nobody uses it. Crouch. Sit on the ground. Hold the camera at your waist, or over your head. Shoot a dog from the dog’s height instead of looking down at it. Photograph a kid from their eye level and the picture suddenly reads as being about them rather than about an adult watching them.
The fix: on any subject worth photographing, take one frame standing and then one from a different height. Compare them later. You will start doing it without thinking.
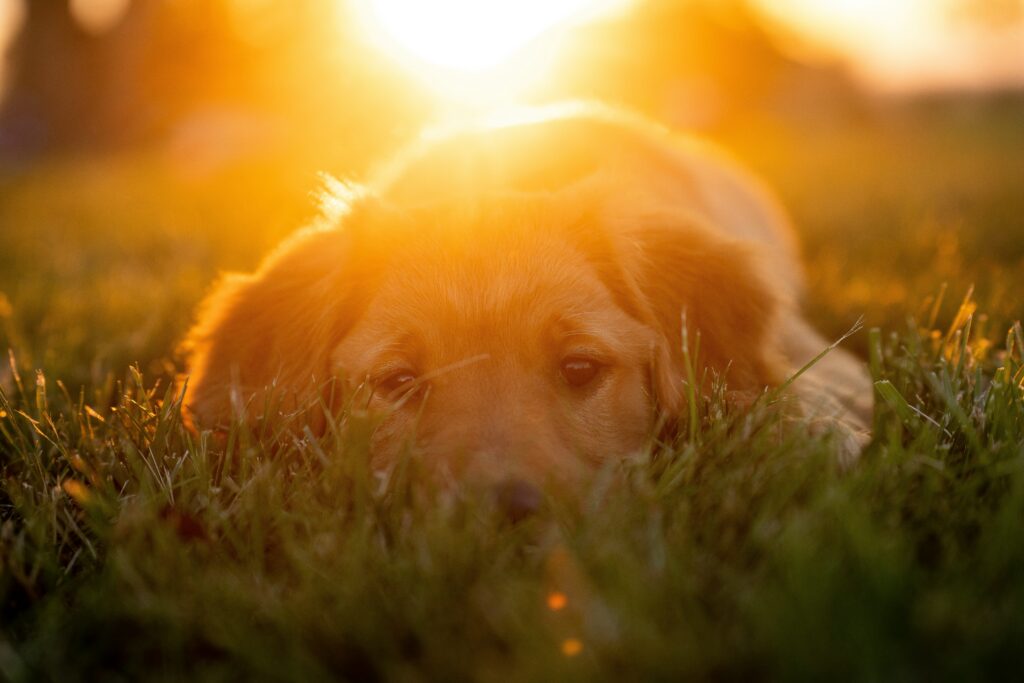
3. You are shooting at the worst time of day
Most people photograph when they happen to be free, which is the middle of the day, which in Texas is the single least flattering light available. Overhead sun puts shadows in eye sockets, blows out the sky, and flattens everything with texture.
This is not a skill problem. The same photographer, same camera, same subject, two hours before sunset, produces dramatically better work. Light is doing most of the job.
The fix: for the next month, deliberately shoot in the hour before sunset and see what changes. We wrote a whole guide to when that hour actually falls around Austin and San Antonio through the fall, including the part where Daylight Saving ends on November 1 and golden hour suddenly becomes something you can do on a weeknight.
4. You are trusting the meter
Your camera’s light meter is very good at one thing: making the average brightness of a scene come out middle grey. Most of the time that is exactly right. The rest of the time it is confidently wrong, and it is wrong in predictable ways.
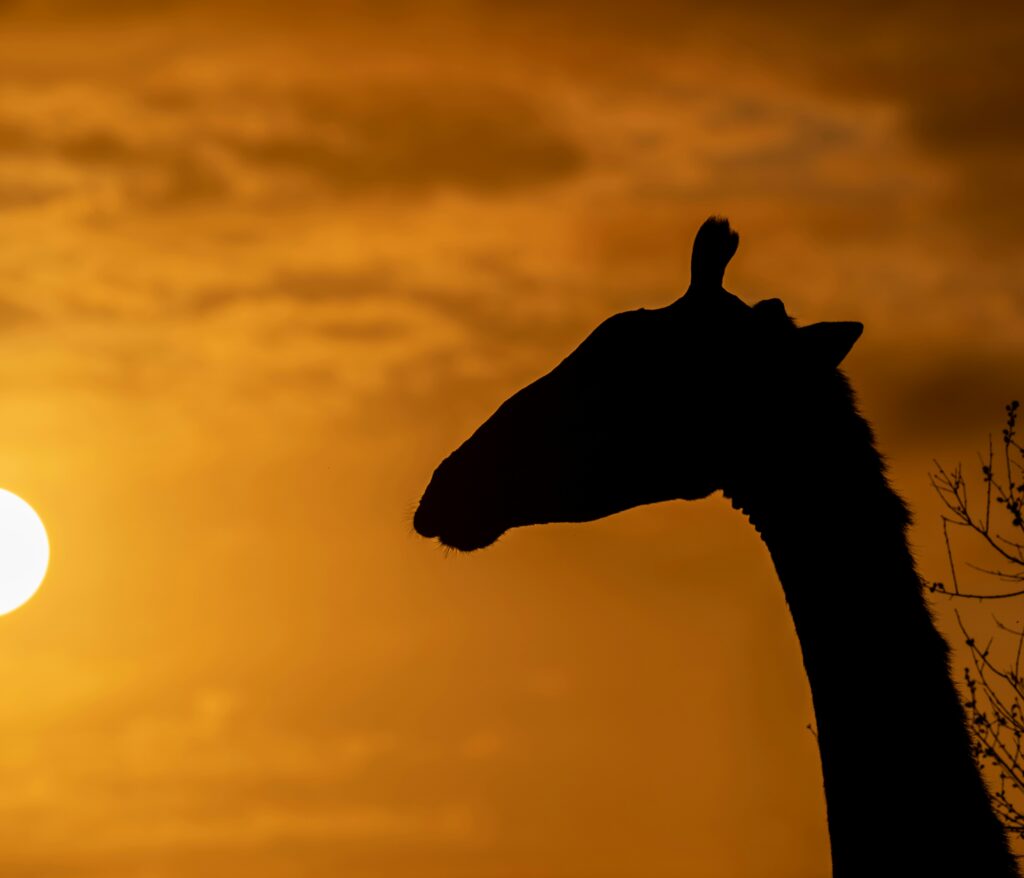
Photograph somebody standing in front of a bright window and the meter sees all that brightness, pulls the exposure down, and hands you a silhouette of your friend. Photograph a white wall or a bright beach and the meter drags it down to grey. Photograph something dark and it lifts it until it looks washed out.
The dial that fixes this is exposure compensation — marked +/− on essentially every camera made. It tells the meter, politely, that it is wrong.
The fix: learn where that button is on your camera and use it. Subject backlit or against something bright? Add a stop. Shooting something genuinely dark? Subtract. Then check the back of the camera and adjust. Two minutes of practice, and a whole category of ruined photos stops happening.
The pattern
Look at those four again: get closer, change your height, pick better light, override the meter.
Not one of them is about equipment. They are all about deciding something instead of accepting the default — the default distance, the default height, the default hour, the default exposure. That is most of what separates a hundred snapshots from a hundred photographs.
The gear question can wait. It will still be there in six months, and by then you will know what you actually need.
If you want to work through this with someone
Our Photography 101 and 201 classes in San Antonio cover exactly this ground — exposure, light, and how the three controls trade against each other — hands-on with your own camera, in small groups.
San Antonio: 6635 San Pedro Ave · 210-349-4400 [View Upcoming Classes & Sign Up Here]
And if you are anywhere near either store, bring the camera and the questions. We have been answering them since 1973.
Austin: 5907 Burnet Rd · 512-520-5161